How to Back Up iPhone 5
Last Updated on by Daniel Lawrence
You might have heard about iCloud, Apple’s cloud-based service for backup and synchronization of your iPhone data. In this tutorial, we will show you how to use iCloud and other methods for backing up and restoring the iPhone 5.
How to Back Up iPhone 5 to iCloud
Backing up to iCloud is the most convenient option to back up your iPhone 5, but there are a few factors to consider before doing so:

- Only 5 GB of free cloud storage is available with iCloud. If you require more than 5 GB, you can pay a charge to expand your storage plan and subscribe for additional storage space. For $0.99 a month, you can get 50 GB of storage, and more space is available for a higher fee.
- Your iPhone must be connected to its charger and have a robust internet connection (ideally Wi-Fi).
- The iCloud backs up almost all of your phone’s data and settings, but not the data that is kept in the cloud, such as Contacts, Calendars, Notes, iCloud Photos, and text messages.
Note: If you’re concerned about using up your mobile plan’s data, use a Wi-Fi connection as a backup. If your phone has Wi-Fi turned on and can connect to a network, it will automatically fall back to Wi-Fi rather than relying on a cellular signal.
When you’re ready to back up your iPhone to iCloud, follow these steps:
- On your iPhone’s Home screen, tap Settings.
- To access your Apple ID account, tap your name or initials at the top of the Settings screen.
- To access your iCloud settings, tap iCloud.
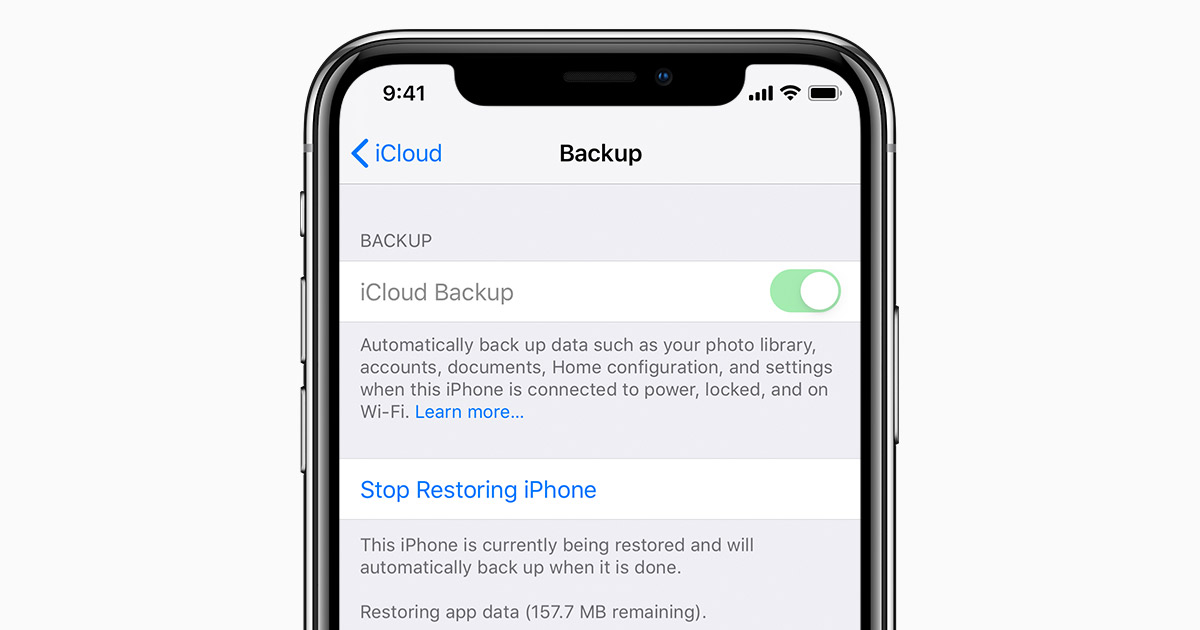
- Scroll down to iCloud Backup and make sure it’s enabled. If it says Off, tap iCloud Backup and slides it to the On/green position using the slider.
- When prompted, accept the warning that this setting disables your iPhone from automatically backing up when you sync with iTunes.
- To begin the backup process, tap Back Up Now.
- Allow time for the backup to finish.
- The Last Backup time updates to the current date and time once it’s finished.
Using the Mac Finder to Back Up in Catalina or Later
Apple deleted iTunes from the operating system with macOS Catalina (10.15) and replaced it with three apps: Music, Podcasts, and Apple TV. As a result, with macOS Catalina and later, you back up to Mac using the Finder. The change has no effect on Windows PCs; iTunes is still downloadable via the Windows Store.
- Use the cable that came with your iPhone to connect it to your Mac.
- Click the Finder icon in the Dock to open it, or click the desktop and choose File > New Finder Window from the menu bar.
- Get your iPhone unlocked.
- In the Finder sidebar’s Locations section, select your iPhone.
- Select Back up all of the data on your iPhone to this Mac from the Backups section of the Finder screen.
- Back-Up Now is the option to select.
- Disconnect your iPhone from the Mac once the backup is complete.
Using iTunes to Back Up Your iPhone 5
When backing up your iPhone to a Windows PC or a Mac running macOS Mojave (10.14) or earlier, iTunes is the way to go. One of the most appealing features of iTunes is that it is compatible with both Windows and Mac OS X.
It will be easier to complete this process if you have the most recent version of iTunes installed; update iTunes before you back up. Begin the backup process after you have the most recent version of iTunes.
- On your computer, open iTunes.
- Connect your device to your PC or Mac using a USB cable. Select the iPhone icon next to the Media drop-down box once it’s connected.
- Make sure that the Automatically Back Up option is set to This Computer.
- Back-Up Now is the option to choose.
- When the Latest Backup displays the current date and time, the backup is complete.